There are many options available if you're interested in becoming a self defence trainer. This article will look at the different options, the cost of training, and the job outlook for someone who is interested in becoming a self defense trainer. Once you've decided to become self-defense trainer, you can start the process by visiting the website for a local school. The flexibility to teach any discipline to students is one of the many advantages that self-defense training offers.
Learn how to become a self defence trainer
There are many ways to learn how to be a self-defense instructor. You have the option to either specialize in martial arts or become a generalist. Your skills will then be in demand. The self-defense market is large. To make a full-time salary, you can become a self defence trainer. You may also wish to help others feel more at ease with their bodies.
There are two levels to Combat Objective Battle Ready Applications membership. The first level allows you to open your own franchise. The second level allows for training in the sport. There are many benefits to the programs, including self-paced training and an online written exam. License tactics require the second level to be certified. This certification comes with a monthly cost. This option is for self-defense instructors who want to work in the sporting industry.

Training costs
The cost of self defense training will depend on the instructor, location, and size of the class. For private lessons, instructors may charge $40-$50 while others might charge $10-20 an hour. The first lesson can cost as much as $180. Then, the instructor may charge less for follow-up lessons because they want you to come back for more. For example, a studio apartment for a 90-minute lesson might cost $3,000 or less. Then, for a 90-minute lesson, you'll pay around $120.
Basic courses at Gracie University are $189 The cost of private sessions is $40 to $80 an hr. A private class' cost can vary depending upon the instructor, the location and the topics covered. You can also find free online classes such as the SEPS Women's Self-Defense class for those who have a tight budget. It is also possible to find low cost classes at local community centers, police departments, and colleges.
Job outlook
The job outlook for self defense trainers is good, but there are many obstacles to this career. Qualified instructors are in high demand. There are many kinds of certifications. Some trainers specialize in a particular style of self defense. Other trainers teach classes in many different areas. Self defense trainers have a positive outlook, but there isn't much growth potential. Self defense trainers must be able adapt to changing demands and expectations.
FAQ
Where should I store my survival gear?
It is best to keep your emergency survival gear near you so it is easily accessible in the event of an emergency. A closet or under your beds is the best place to store supplies.
You need to label all supplies with the contents, date, and how they were used so you can easily identify which ones are good and which are not.
Also, make sure to keep a copy your inventory somewhere else. You will need to prove that the correct stuff was there in case something happens to your apartment or house.
What should every doomsday prepared have?
It's more than what you require, it's how much. It's simple: if you want to survive, you have to learn how to live off the land.
You will find many options to prepare yourself for an emergency. You don't necessarily have to go out and buy everything on this list. It is important to know where you can start when preparing for disaster.
The most important thing to do is be ready for anything. If you are serious about surviving, you must be ready for anything.
What should you put in a bug-out kit?
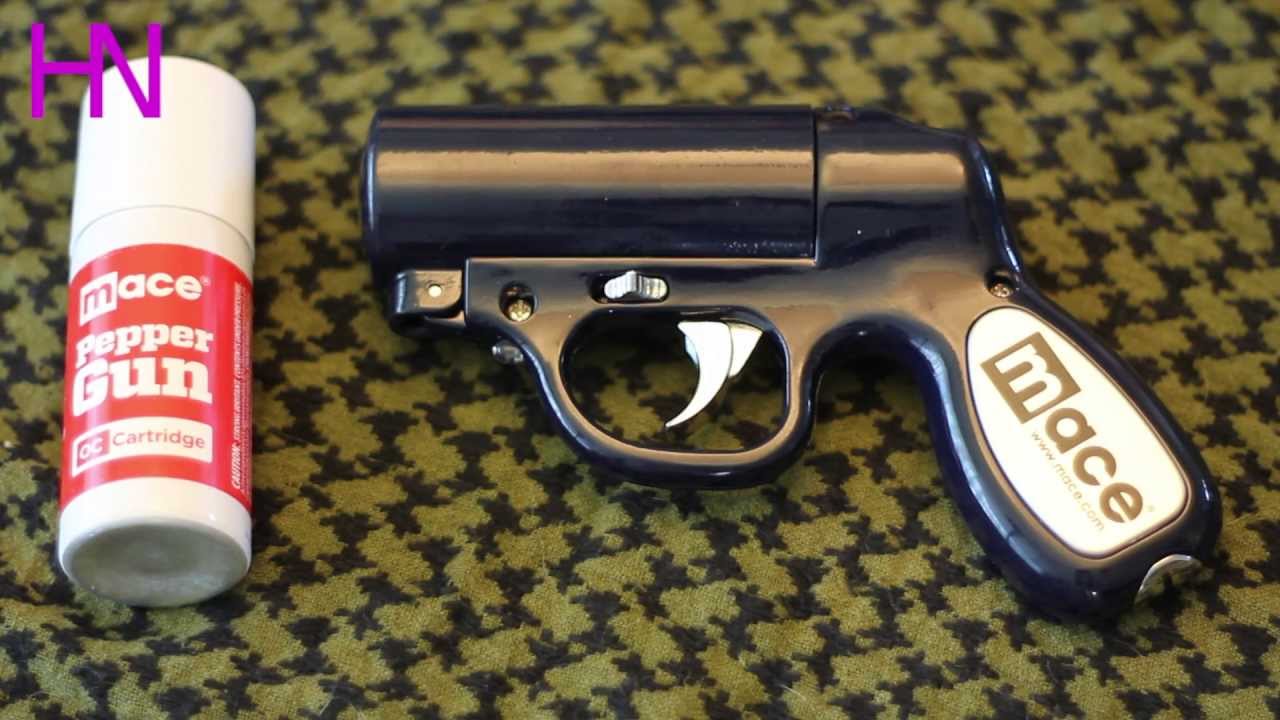
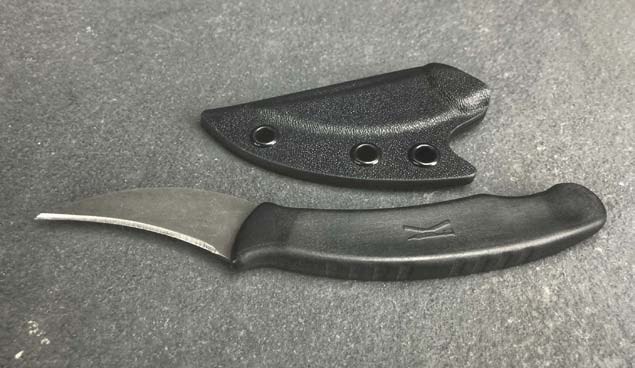
A Bug Out Bag is a kit to provide you with food, water and shelter for 72 hours. It includes a first aid kit, flashlight, whistle, fire starter, compass, knife, matches, rope, bandana, handkerchief, toilet paper, hygiene items, sunscreen, sunglasses, socks, gloves, hat, bottled water, energy bars, batteries, emergency blanket, and other essentials.
Consider that you may only use half the items you put in your BOB. Be wise when choosing what items to put in your BOB.
Statistics
- In the first ten months of 2016, foreigners bought nearly fourteen hundred square miles of land in New Zealand, more than quadruple what they bought in the same period the previous year, according to the government. (newyorker.com)
- Some 57.2 percent of voters chose Crocs, proving that comfort rules. Background: This summer, we surveyed our readers about what they’d shove into a backpack if they were caught unprepared for the collapse of society. (inverse.com)
- Receiving 11.2 percent of votes in our reader survey was a propane torch. Background: This summer, we surveyed our readers about what they’d shove into a backpack if they were caught unprepared for the collapse of society. (inverse.com)
External Links
How To
How to preserve food during a crisis?
To preserve food in an emergency situation, drying is the best option. Drying foods removes moisture which makes them last longer. It also decreases the risk of bacteria growth.
Because they don't need to be prepared, dried fruits are ideal for snacking during emergencies. They are portable and can be taken with you wherever you go.
You can make dried fruit at home using a dehydrator, but if you have access to a solar oven, this would be ideal. A solar oven can be used to dry many foods, such as meat, fish, and vegetables.
The most important thing when preserving food is to ensure it is airtight. This prevents oxygen entering the container and spoiling it. If you seal the container tightly enough, there won't be any need to add preservatives.
If you do decide to add preservatives, try adding salt first. Salt prevents mold growth. Next, add vinegar. Vinegar kills harmful bacteria and prevents mold growth.
Start by cutting up your food in small pieces. You can use scissors or a knife. Make sure you pack everything well so that no air gets inside the container.
Next, place the food inside a plastic bag. Place the food inside a plastic bag. Keep it warm until it dries fully.
Once the food has dried, you can place it in a sealed bag. Be careful not to let anything touch the food.